Thursday, June 30, 2011

Fan of Sea Fans

A couple of months ago, during one of our fairly regular stops at Home Goods, Mom and I spotted something VERY exciting.  Sea fans!


Well, not that exact sea fan, but 3 different pairs of matching sea fans. !!  I've been looking for sea fans to frame for a couple of years now (I could have ordered some online, but never found the right ones for the right price), so you can imagine my excitement when they were just sitting on the shelf.  Mom bought two large white/beige-colored fans, and I got two smaller yellow ones for just $5.99 each!


We finally went to Ikea to get frames this past weekend.  We also picked up some fabric for the background of our frames while we were there.


As soon as we bought them, I knew right away that I wanted to hang them on either side of the window in our breakfast nook.  Our pendant light has a similar accent color in it, so I was hoping it would work perfectly.  After replacing the mats with fabric-wrapped poster board, I just stuck the sea fans in what looked like the middle of the frame, put it all back together, and voila!


So much better than the bare naked walls (as seen below, obviously in the winter). 


I love it.  Eventually we'll do something to the long wall on the right, too... maybe a white plate wall?  My (very) long-term plan is to try to do a banquette under the bay windows and move the table and light over, and have some type of sideboard/buffet along the wall on the right.  We'll see! 

sea fan picture from mexfish.com

Tuesday, June 28, 2011

Bathroom Reno

Happy Summer!  Obviously, I have a hard time posting when school is in session, but now that we are out for the summer, I am back! 

As I mentioned in the last post, much of our "reno energy" has gone towards Mom & Dad's house in the last few months.  They finished their addition & kitchen, with just the exterior left to complete.  In February, Dad went on a 5-day retreat and true to form, Mom was dying to do some sort of house project while he was gone (she loves to surprise him!)  She recruited Stephen to help her renovate their old bathroom, now that they have a second full bath.  


Yea, it was rough.  The terrible lighting doesn't help, but it was bad.  It was pretty much impossible to describe the color of those tiles.

Although we knew it was a bit of a lofty undertaking (we knew it wasn't quite possible to finish it in just a few days, when Stephen and Mom both still had to work every day), she figured they would give it a shot and see what they could do!  

Stephen and his dad spent the first day just doing demo.  It was a mess!  They ripped out the tile that was on ALL of the walls, as well as the concrete and metal mesh that was behind it (the real pain).  The floor was just as fun to rip out, and that was finished on the second day.    


Ripping out the tile was easy; it was ripping out this stuff that was tough and time-consuming!


After he replaced some rotten boards in the floor, Stephen spent the next couple days putting in a new tub, installing cement board for the shower tile, and putting in green board (sheetrock) where the walls were tiled, as well as where there was a doorway into my old bedroom.  That entrance really wasn't needed, so they got rid of it!  Mom helped with the demo, and worked on painting the linen closet and its shelves, as well as picking out the new tile and fixtures. 

They also needed to change how the baseboard heat was configured in the room, so Stephen spent a lot of time running new lines for that (I'm sure there were other things involved, too, I just don't know what they are!)  He also got the shower tile finished before Dad came home from his trip, but he still came home to a mess!  I won't say he was thrilled at the surprise, but he jumped right in to help finish it up, and after a few more days of work from all of them, it was done!


Apologies for the terrible lighting (I will learn how to white balance), but you can tell what an improvement it is!  The floor tile is mostly brown (not nearly as green as it looks in the photo), and the wall color is a little lighter than it appears.  The new vanity is just like the one Young House Love did in their new bathroom last year.


Before: the door on the left went into my old bedroom.


After: no more door!  So much better.  Mom & Dad's house now officially feels brand new!

Thursday, February 10, 2011

Mom & Dad's "After"

While we've still been piddling around with projects at our house (and surely will never stop), lately a lot of our "DIY energy", if you will, has gone towards Mom & Dad's house.  They set out over a year ago to add on to the back of their house.  I couldn't resist going ahead and posting a couple of "before & after" shots... the difference is amazing!


Those two pics. were taken from the exact same place, a year apart.  The first photo isn't quite a "before" shot, since you can already see the construction through the windows, instead of the pretty outside view that you previously saw.  Also- notice Mom's "design board" on the table... crucial!

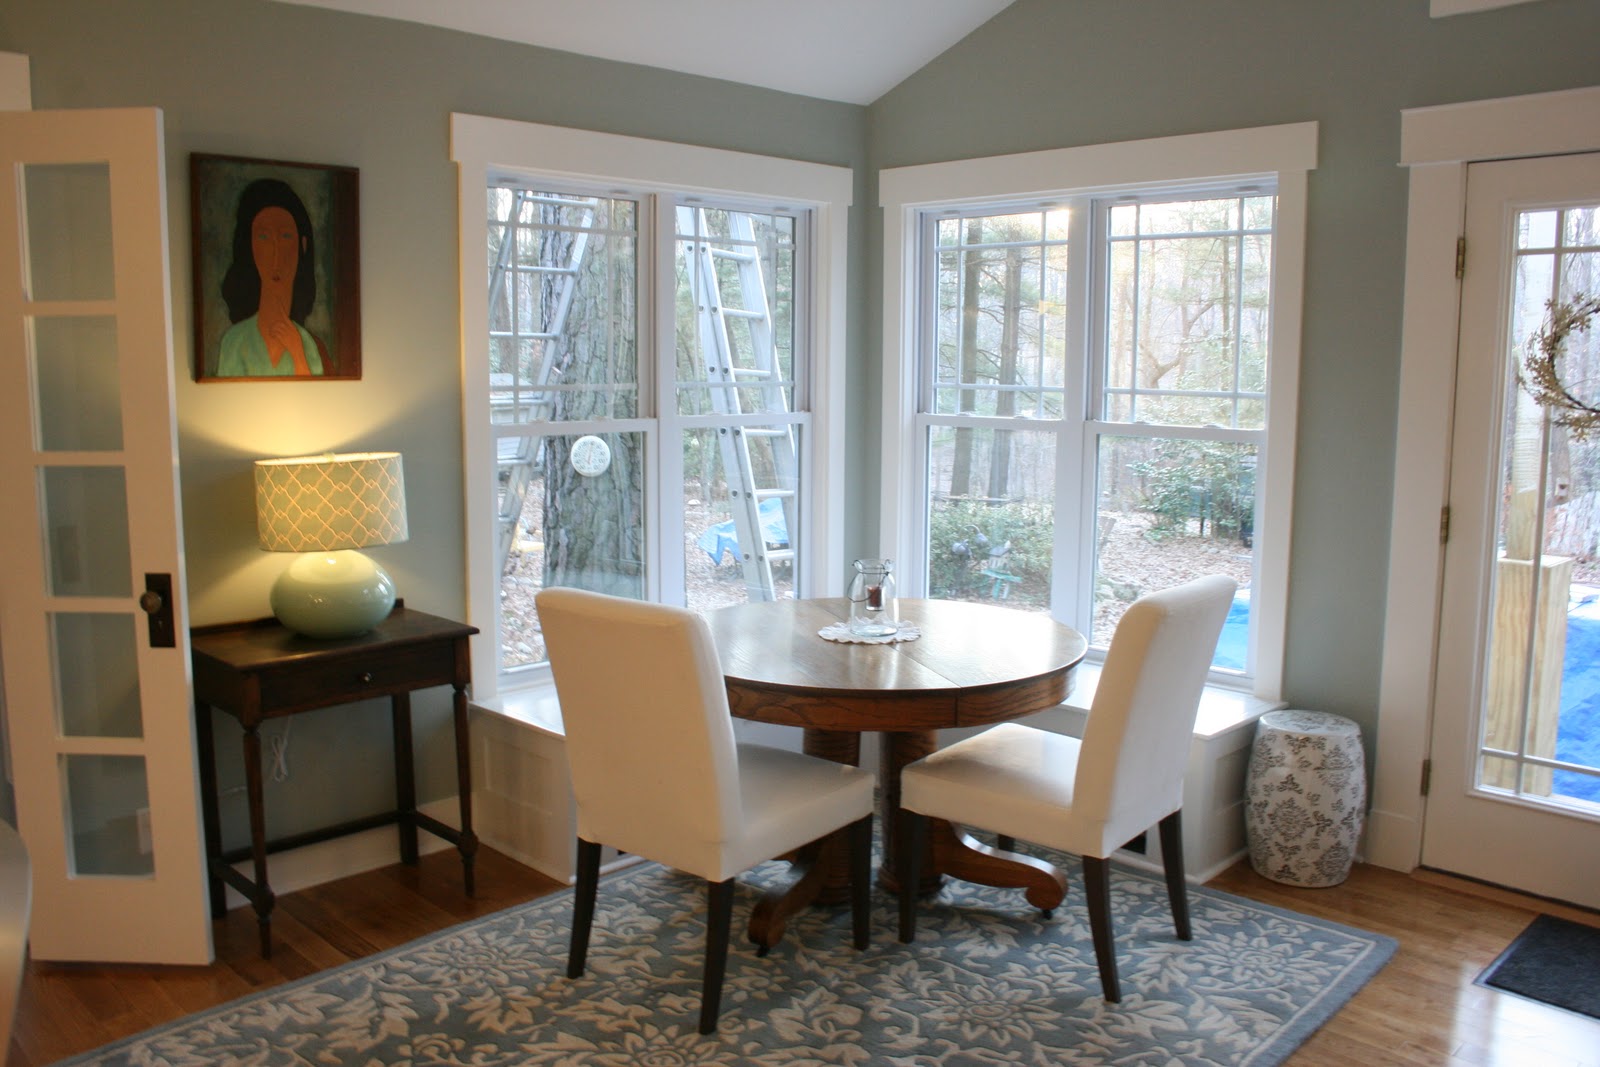
So basically, they added a sunroom (for lack of a better term) on to the kitchen, as well as a mudroom, two closets, and a full bathroom.  They completely gutted the old kitchen and changed a few walls around to make the whole new floor plan work.  It is all gorgeous and finally in the finishing stages.  

 These two photos were also taken from the same angle (the first shot was taken through the torn-out windows, standing in the new space).  They closed up and extended that half wall to create a stairway and create a wall for upper cabinets & a range hood.

 On the french doors... we bought reclaimed door knobs and Dad painted door plates that he's had for years and put them together... LOVE how it turned out.

Besides some help with the initial building & framing from an architect, wiring help from an electrician, and Stephen's plumbing services, they have done it all themselves!  Since they both work way more than 40 hours a week, everything has been done on the weekends and occasional evenings.  Hence the long, but so worthwhile, process.  


All they really have left to do is to figure out some furniture & its placement, pick fabric & sew cushions for the window seats/banquette (sewn by me?  by Mom?  We'll see...), a little tile sealing, and some touch-up caulking & painting.  


Of course, now that they have such beautiful new spaces, Mom has been redoing every other room in their house!  The family room/basement has been re-painted (including all trim, the fireplace, and the built-in bookshelves) and is in the process of being decorated.  The "TV room" has also been painted, along with the hallway and living room (which now has two arched "windows" into the kitchen, thanks to busting a couple huge holes in the wall).  

 Obviously the decorating is in-progress.

 Babies.

Mom & Dad's bedroom also got new flooring, paint, bedding, rug, etc. in the process.  All of the artwork and accessories are still in-progress, but they have done so much! 

The new "master bath", with the new closet behind it leading into Mom & Dad's room.  Almost done!

It's been quite the undertaking, and it's not over yet!  So exciting.

Saturday, January 22, 2011

Kitchen, Christmas, & the B wall

Wow, aren't I great at updating!?  Shame.  Well, since the last post ended with a few pictures of the kitchen, I figured I would pick up where we left off.  I actually took a few updated "after" shots during the holidays, so there is now more than one (selective, clutter-hiding) current photo of our kitchen.  Just a reminder of what it looked like BEFORE.


Isn't it gorgeous?  Ugh.  And yes, the cabinets were as dirty and stained as they appear (most of that junk was not going anywhere, even after a hard cleaning). 

We actually got to start working on the house before we moved in.  One blessing of the short sale was that the house was (and had been) empty, so the previous owners were nice enough to give us their keys until we closed.  We had two or three weeks of work time before we were even the owners.  Thank goodness it worked out!  So we never actually had to live with it looking exactly like this.  It was cleaned and the walls were painted when we moved in.


That was about all that was done, though.  We lived with it like this (below) for way longer than I would like to admit (it took a few months to finally buckle down and paint the cabinets).  We also lived with a wire hanging down for a few weeks in between horrible fluorescent fixture and okay-for-now pendant light.


After painting the cabinets & adding new hardware (and interior hinges, thanks to hubby's ingenious engineering/rigging techniques)... we finally got to this.


Like I mentioned before, there are still quite a few things we would like to change, but most of those are pretty big-ticket projects.  Dark stone counter tops and stainless steel appliances (and new cabinets altogether, while we're at it) will just have to wait!

Here is a view of the other side.  One of my favorite things we did in the beginning was rip off the carpet from the edge of the stairs & stain the wood underneath... now the new carpet on the stairs looks more like a runner on the bottom few steps.  I love being able to see that wood!  


Just for the record, we did finally put back the rest of the spindles (or whatever they're called) under the railing.

So... since those pics were clearly taken around Christmas, and despite the fact that it's nearing the end of January... here are a few more Christmas photos.


Oh yea, that reminds me... there are also a few updates in the dining room.  Clearly this is what happens when I go too long between updates... there are too many things to post at once!
We now have a new table & chairs!  


Well, the chairs aren't actually new, just new to us.  I paid $20 for 6 of them at a yard sale last summer.  After some sanding, black paint, and reupholstered seats (new foam, batting, & fabric), they are as good as new.  Almost.  They creak a little, but that just adds character, right?  


You can see a glimpse of the "B wall" in this pic.  I finally hung the B's we (I) had collected & painted.  I could add about 6 more just with the selection of letters at the newly-opened Hobby Lobby!  I'll refrain for now, but it is tempting.


Here is a close-up of the stenciling.  It was intended for the original dining room post, but got left out.  So fun!


Speaking of fun... one last before & (updated) after of the kitchen.  Just because.  It's fun :)


Visit thecsiproject.com

Friday, November 19, 2010

Fall Fun & Kitchen

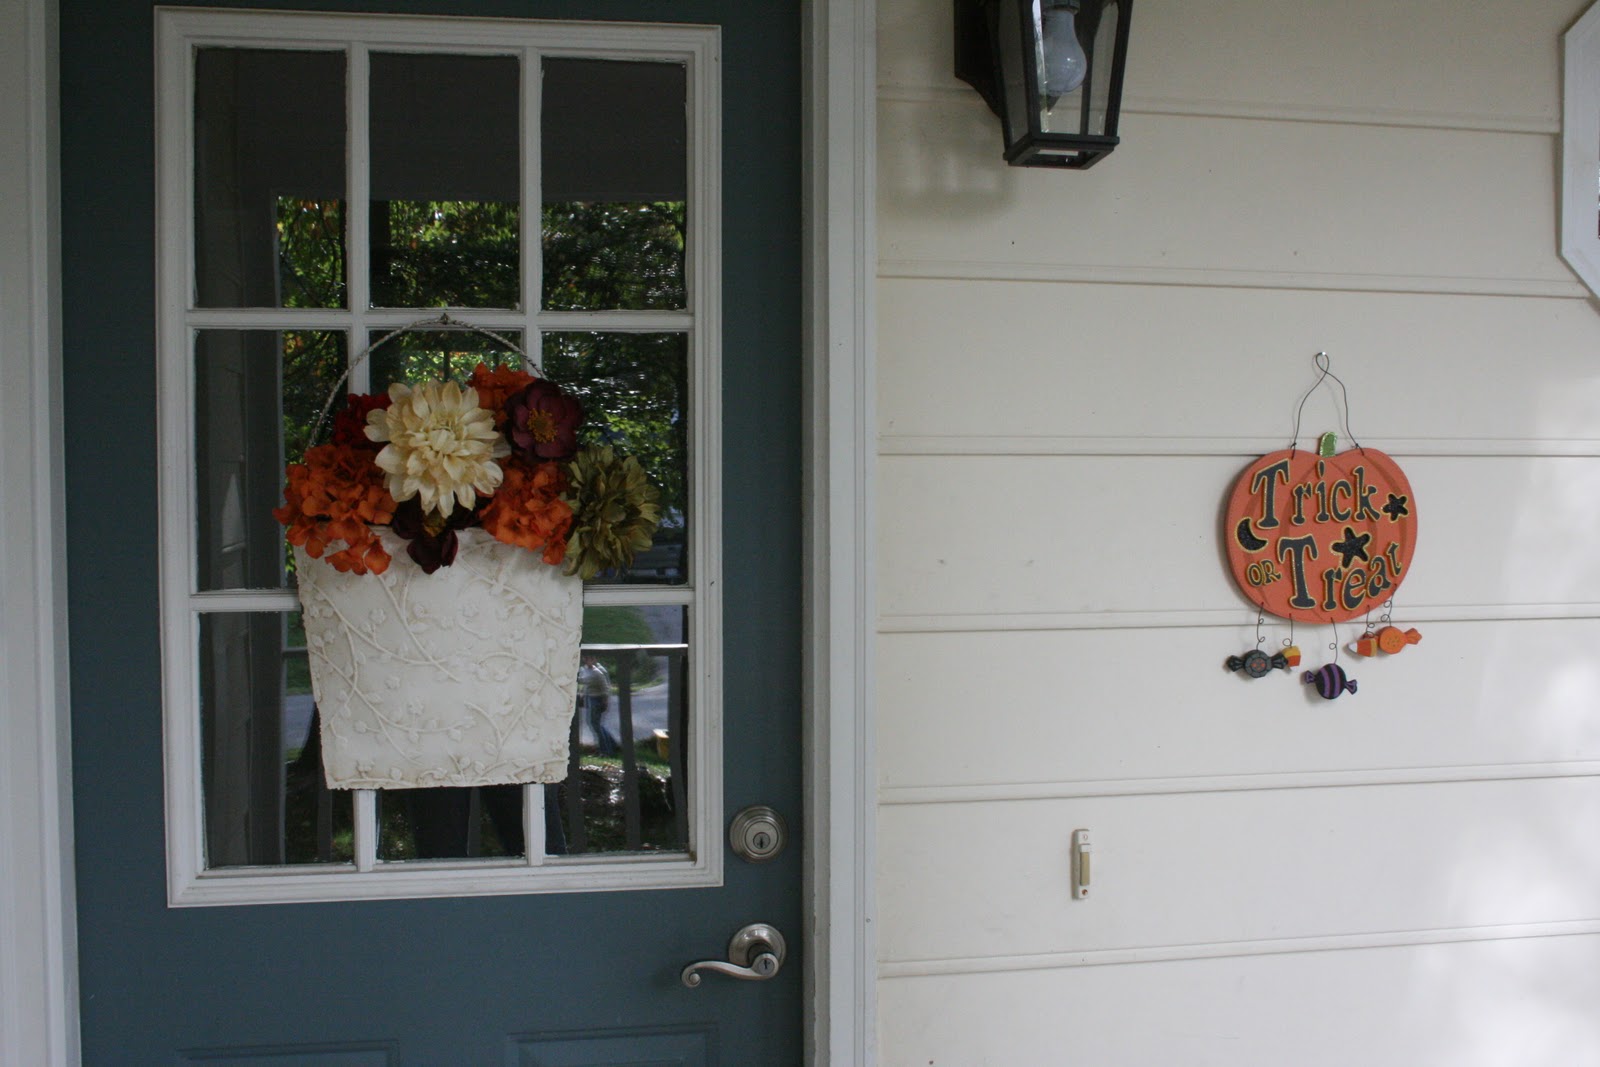
We did a little decorating for Fall, although it'll soon be time to replace it all with Christmas decor!   


Our living room plant died, so for now we replaced it with a pumpkin.  There will probably be a tree or something there for Christmas, but I'll have to find something else to go there for the rest of the year (we actually went through 2 plants there... love how they looked, but they just didn't do so well long term).


I don't consider myself super crafty, but this was a fun project from awhile ago (it's been hanging on the door since the spring, so it's not technically "Fall" decor).  I wanted a wreath, but I realized how pricey they can be, and I wasn't willing to splurge.  So, after seeing some handmade wreaths on etsy, I bought a wreath form from Michael's, along with some fuzzy green yarn and felt.  I wrapped the form with the yarn, then made some flowers from felt (just cutting & sewing... I played around and tried to copy pictures of felt flowers that I found online).  Another "crafty" project that was for Fall was a pumpkin for my best friend, Allie. 


I planned to make one for our house too, but by the time I went back to Michael's, all the white pumpkins were gone.  Maybe next year!
On another note, I was organizing photos recently & realized how few rooms I've actually posted pictures of on here.  One room that I haven't taken many pics of is the kitchen.  Here is what it looked like 1) when we toured the house and 2) before we closed on the house, just as we were starting to work on it- what a mess!


Here is the one good "after" picture I've taken:


We painted everything (walls, trim, cabinets), continued the bamboo floors, changed the over-the-sink light fixture from a flourescent tube to a little pendant, and put in a new sink, faucet, & disposal.  We would loooove to change the counter tops, but that's on a long-term list.  Behind the peninsula is the eating area.


Everything continues to be a work in progress!  And let's be honest, the biggest challenge is just trying to keep all of the mail, bills, magazines, and other clutter off of the counters.  No doubt one of the reasons there aren't more current pictures!  Such is life...
 
Designed by Lena